Roofing websites
What pages does a roofing website need?
A roofing website does not need dozens of pages. It needs the right ones, each answering a single question a homeowner is asking before they call. Here is a page map you can use, and the reasoning behind each page.
The core page set
Start with pages that match how homeowners search and decide. For most roofing contractors that is:
- Homepage: who you are, where you work, the main services, and one clear way to request an inspection.
- One page per major service: roof repair, roof replacement, and inspections at minimum.
- Storm damage page: only if you actually do storm and insurance-related work.
- Projects: real work with location, scope, and photos.
- Service areas: the towns you genuinely serve.
- Contact or estimate request: a short form and a phone number.
Repair, replacement and storm work
Give each service its own page rather than a long list on one page. A homeowner with a leak and a homeowner pricing a full replacement have different questions, and a search engine can match each to the page that answers it.
On each service page, cover what the work involves, the signs the customer should look for, how an inspection leads to an estimate, what the process looks like, and a direct request button. Only add a storm-damage page if it is part of your real offering, and describe your role honestly rather than implying outcomes you cannot control.
Project proof
Original photos of real jobs do more than stock images. For each project, record the town, the type of roof, the scope, and what made it notable. If you cannot share results or a client name, say so plainly and describe the work that was done. Our Cypris Roofing case study shows this approach: it documents the delivered website and the visible decisions without claiming traffic or revenue results that are not verified.
A real example: Cypris Roofing
In our Cypris Roofing build, the homepage brings the roofing offer, credibility, and an inspection-request path together. The documented build decisions show what was delivered and give you a reference when reviewing your own site.
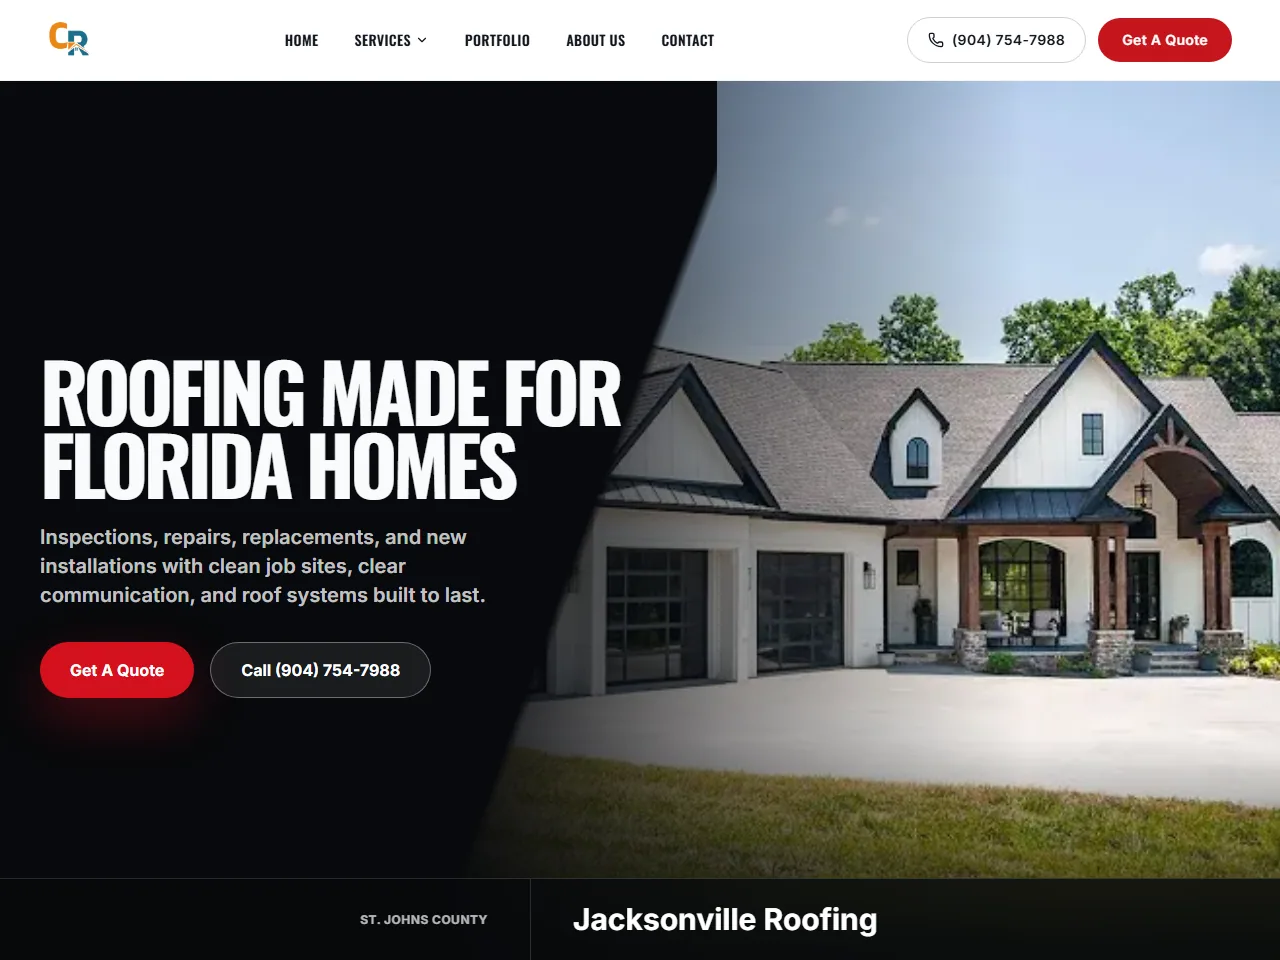
Use the example to check three things on your homepage: can a homeowner identify the service, find evidence to evaluate the company, and see how to request an inspection? Then give each additional service page the same clear path. The case study documents design and development; it does not establish a complete service-page inventory or an SEO result.
Service areas
Create a service-area page only for places you actually serve and can say something specific about. Near-identical pages with only the town name swapped add little for visitors and can look like filler. Our local SEO field guide explains how to decide which locations deserve their own page.
How the pages connect
Link the homepage to each service page, each service page to related projects and to the request form, and each project back to the service it demonstrates. A homeowner who reads about replacement should be one click from a replacement project and one click from the form. See how this fits together on our roofing website design page.
Common mistakes
- One “Services” page that lists everything in two sentences each.
- Stock photos where project photos should be.
- Service-area pages with only the town name changed.
- A request form with too many required fields. We cover this in what a contractor quote form should ask.
- No clear path from reading to requesting an inspection.